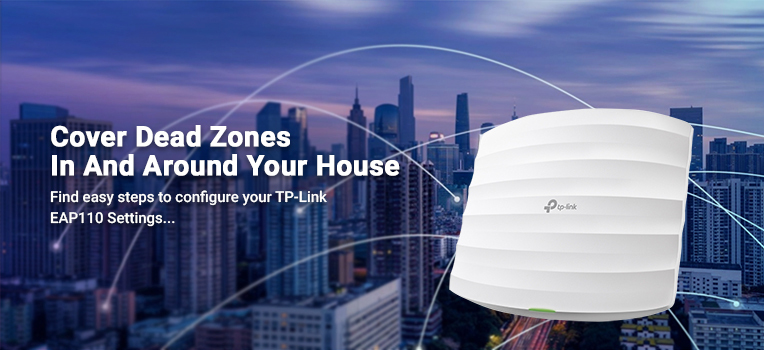
The TP-Link EAP 110 is designed for Wi-Fi applications that are outside. It has up to 300 Mbps Wi-Fi speed with excessive transmission power. It is long-lasting along with a weatherproof enclosure for every type of weather. Its high-gain antennas ensure an extended range of coverage. To get the best out of your access point, you need to execute the TP-Link EAP110 setup accurately.
In this post, we’ll be going over the TP-Link EAP110 outdoor setup procedure. Keep reading to learn the thorough procedure correctly.
Steps for the TP-Link EAP110 Outdoor Setup
The TP-Link EAP110 can be mounted on either a post or a wall. The procedure for the set is as follows:
TP-Link EAP 110 Pole Installation
- Firstly, turn the captive screw anticlockwise using a flathead screwdriver and detach the end of the metal strap.
- Secondly, pass the end of the metal strap past the rear of the EAP.
- Thirdly, set the EAP and wrap the pole with the metal strap. After that, guide the end of the strap through the screw block and tighten it by screwing it clockwise. Ensure the EAP is fixed securely.
- Then, you can link the antennas to the EAP.
The TP-Link EAP 110 is successfully installed.
TP-Link EAP110 Wall Installation
- The first step is to position the mounting bracket perfectly. You can mark the wall for the screw holes. Then you can drill the marks with 6mm holes for screws.
- The second step is to fit the plastic wall anchors and press the self-tapping screws into the anchors past the bracket.
- Then, on the back of the EAP, using four openings of the mounting bracket line up the mounting tabs.
- Afterward, push and slip the EAP downward till it is fixed in its place.
- Now, you can link the antennas to the EAP.
This is the procedure for the TP-Link EAP110 outdoor installation. Now you just have to set up the access point.
Read More : Tp-Link EAP225
TP-Link EAP110 Setup
- First of all, connect the EAP and the PoE port on the PoE adapter using an ethernet cable.
- Next, plug the power cord into an electrical outlet and connect it to the power port on the PoE adapter.
- Afterward, connect your LAN device to the PoE port on the PoE adapter using an ethernet cable.
The TP-Link EAP110 outdoor setup is successful. You can now enjoy a high-speed internet connection outside your house as well.
Configuration of the TP-Link EAP110
You can configure the TP-Link EAP110 in two ways. These ways are as follows:
Configuration Via EAP Controller
- First of all, you need to install the EAP controller on your PC. You can download this file from www.tp-link.com/en/download/EAP-Controller.htm. Open this file and follow the wizard in order to install the EAP controller.
- Then, open the EAP controller and follow the given instructions to finish the Quick Setup. When the wizard is complete, a login screen will display.
- Afterward, you need to log into the EAP controller by entering the name and password and clicking on Sign In.
- Now you can configure the EAP controller accordingly.
Configuration Via Web Browser
- First of all, you need to connect your device to the EAP. Ensure the EAP is powered on before connecting to its network.
- Next, open a browser and enter tplinkeap.net in the address bar. Log in by entering the correct username and password.
- Now you are successfully logged into the EAP and you can configure it accordingly.
After successfully logging in, you can change the username and password for security purposes.
This is the complete procedure for the TP-Link EAP110 setup. If there’s any issue you are facing with your device, contact us right now!
