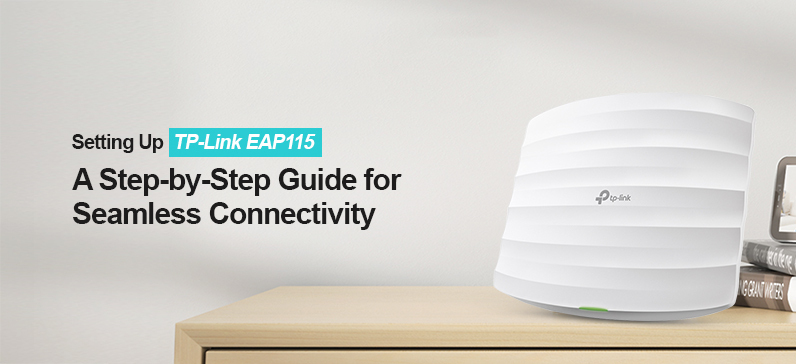
Generally, the TP-Link EAP115 wireless ceiling mount access point is specifically designed for homes and offices. Additionally, these gadgets bring electrical power to using PoE to reduce the cable clutter. Likewise, its user-friendly cluster mode allows around 24 devices to link with it. For all this, you need to perform the TP Link EAP115 Setup first.
In addition, there are two primary methods that you can use to configure the settings of this wireless AP. Firstly, you can proceed with the Omada app or through the web address. After that, you can set your networking device according to your preferences. Also, you can use the secure Guest network service on it with Facebook and SMS support.
Further, if you are looking for assistance with the Tp link eap115 wall setup, then must stay on this post. Likewise, we share steps for both methods to access and configure this device effortlessly. So, have a brief look over there:
Quick steps to configure the TP Link EAP115 AP
As discussed above, there are two primary methods that we can use to perform the setup of EAP115. You can either use the tplinkeap.net web address or go ahead with the Omada app.
In this section, we share both methods with easy steps to assist you with the setup process. Let’s have a look:
TP Link EAP115 Setup through the WebGUI
- First and foremost, ensure your EAP115 is powered on.
- Next, connect the EAP network to the computer/laptop.
- Afterward, open the web browser and type tplinkeap.net web address on the browser bar.
- Here, a login window appears to you.
- Enter your admin details on this window.
- If you are using the default admin credentials, then these are mentioned on the product sticker at the bottom or back of the networking gadget.
- After logging in, you reach the smart setup wizard of the device and can proceed with the basic to advanced settings, like Guest Network, etc.
- Also, change the default admin username and password to secure your network if you did not change it.
- Finally, tap on Save/Apply to implement the modified settings.
Tp link EAP115 wall setup through the Omada app
- To begin with, check that you have an updated version of the Omada app on your smartphone.
- After that, access the admin page by entering the login details on the login page.
- If you are a new user and don’t have the app, then download and install it from the Play or App Store, and create an admin account first.
- After logging into the account, you reach the master setup wizard of the access point.
- Next, go to the Quick setup and choose the work mode first as Standalone or Cluster.
- After selecting the mode, you can configure its network settings by visiting the Wireless section.
- For further settings, follow the guidelines on your phone screen.
- Hereon, click on the Save/apply to admit the modified settings.
- At last, you are done with the complete TP Link EAP115 Setup.
Quick Tip: You can also control the TP-Link EAP115 AP device through the Omada software/hardware, or using the Omada-based controller.
Read More: TP-Link EAP110 Outdoor Setup
On the Whole
All in all, the information we share in this brief guide will make you aware of the effortless TP Link EAP115 Setup process. Additionally, you can opt for any of the above-discussed methods to complete the setup procedure for this ceiling access point. If still seeking more information regarding the TP-Link EAP models, then get in touch with us here.