TP-Link CPE520 Setup
TP-Link is no doubt one of the best wifi router makers out there. The TP-Link cpe520 is made to establish and extend strong wifi signals to those dead ends in your home or office. Keep reading if you are looking for a professional yet easy way to carry out a TP-Link cpe extender setup. There are common troubleshooting solutions you will need.
How to properly set up a TP-Link cpe520 extender?
Do you know that tplink cpe520 has quite a few brilliant features? One of them is the System-Level Optimization that allows it to extent strong signal up to 20km. Who would not want such a high-tech wifi connection? Therefore you can overcome the barriers that have been placed in some particular location in your home or office. Dead corners are no longer an impossible factor that you cannot eradicate. The TP-Link cpe520 setup extender comes with an setup design that users
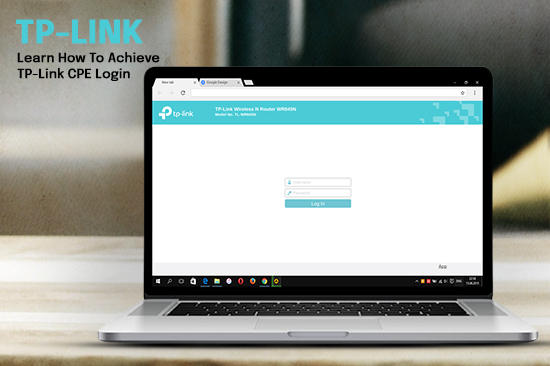
Learn how to achieve TP-Link CPE login
There are few reasons why you will have to login into your TP-Link cpe account and there are two ways. Firstly through the web address and secondly through the IP address. Complete a TP-Link CPE login through the IP address:
- Open your computer browser
- Right in the address toolbar, type in the IP address http://192.168.0.254
- At the login page, enter your username and password and click on login.
- Pick your region and language. In some cases, “region” is a substitute for “country”
- Agree to the “terms of service”
- Next, this is where you have to change your password
- Once the new login details have been confirmed, click on “apply”.
- This will automatically save itself.
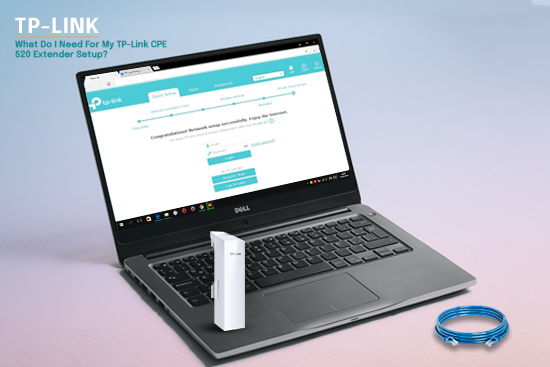
What do I need for my TP-Link CPE 520 Extender setup?
Because it is a setup process, you will be required to use some tools to aid physical connection. This is part of the setup process. So to avoid extreme technical jargon that most users cannot relate to, just get the following tools ready
- Ethernet cables
- A computer or smartphone
- Note down your login details
Connecting your cpe540 extender
To make sure that you successfully achieve a smooth TP-Link cpe setup, you need to remember everything should be perfect from the beginning. Make a pro connection between the cpe520 extender, the Adapter, and the computer.
Now you have to create a connection between the cpe520 extender and the adapter using an ethernet cable. Then connect your adapter to your computer with another ethernet cable. And lastly, plug your adapter into a power socket
The TP-Link cpe520 setup
There are various modes in which you can set up a TP-Link cpe520 but we want to see how to set up the TP-Link cpe520 into a repeater mode. Which is also known as an “Extender range”
- Login to your cpe520 setup page
- Select an operational mode
- A list of “operation mode” will be displayed, click on “repeater mode”
- Under the settings menu, select “quick setup”
- You will find another “operation mode” option, choose “repeater”
- Click on “Next”
- In the LAN settings, make changes to the LAN IP address.
- Next, you have to specify your LAN IP and Subnet mask for your TP-Link cpe520 extender
- Carefully follow the setup instructions displayed in the “setup wizard”.
- Once that is complete, you have to log in to the TP-Link cpe520 setup page again.
Configuring the wireless settings of TP-Link cpe extender setup
That is not the end of your setup. You have to consider configuring your CPE 520 Extender. Sit tight and continue with your setup.
- Scan the network name of your cpe520 extender so as to be connected to the network
- Scanning your SSID is simple. Go to “wireless client settings”, click on “survey”. A list of networks will be displayed
- Select the SSID that belongs to you and input the password to connect to the network.
- To join the network, click on “lock app”.
- Now you need to personalize your password. The default password is not safe enough to protect your internet.
- You can continue to the TP-Link cpe520 setup page to make further modifications if interested in doing so.
- Next, click on “status” then all the changes you have made will be displayed. If everything is fine with you, go ahead and click on “finish”
- Once you click on finish, your configuration will be automatically saved.
- Your CPE 520 Extender will reboot and automatically connected the access point.