Tp Link EAP225 outdoor is one of the best access point routers available on the market. Browse through the extensive yet futuristic features of the EAP225 outdoor and experience the performance that is unmatchable. This low-cost yet easy-to-use device offers seamless wireless connectivity while eliminating most wireless interruptions and disturbances.
The Tp-Link EAP225 outdoor access point comes with Omada Mesh technology that enables wireless connectivity between APs for an extended wireless range. Moreover, the technology makes it easy for you to make wireless deployments more convenient and flexible.
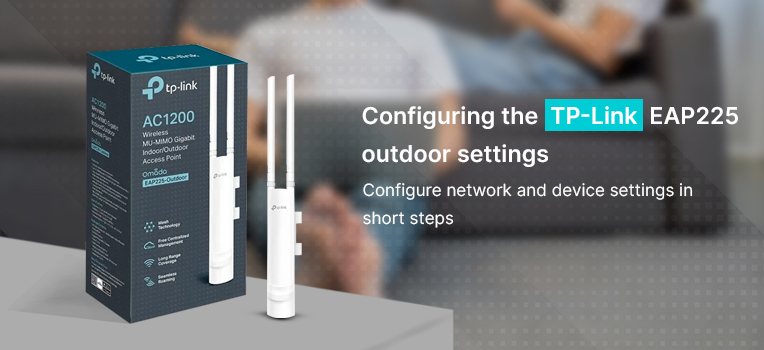
This post will walk you through the quick setup guide for Tp Link EAP225 outdoor. You will learn how to connect the EAP device to the network, login to the EAP device, and go across the configuration process.
Tp-Link EAP225 outdoor configuration & installation
- Connect Tp Link EAP225 outdoor to the network
- Firstly, you need to connect the EAP outdoor device to the network.
- Connect your EAP to your PC using the LAN ports.
- Plug one end of the ethernet cable in the LAN port of the EAP and another end in the LAN port of the PC.
- Turn On your EAP225 outdoor access point.
- Login to EAP225 outdoor
- Firstly, go to the web browser on your PC and enter the default web address or IP address.
- The default web address is tplinkeap.net and the default IP is 192.168.0.5.
- Secondly, type the URL or IP in the address bar of the browser.
- You will reach the Tp-Link EAP225 outdoor login page.
- Thereafter, the login page will ask you to put down the username and password of your Tp Link outdoor device.
- Enter “admin” in both username and password sections. Click the Login button afterward.
- After that, you will see the pop-up window that asks you to configure a new username and a new password for your EAP225 outdoor user account.
- Once you complete the configuration, login to the device using the new username and password.
- Configure EAP225 outdoor
- Now that you have logged into the EAP device, you will see the web-management page on the screen.
- Firstly, click the Wireless button and then click on the Wireless Settings button.
- In case your EAP device supports the dual-band protocol, click 2.4GHz to choose a frequency band to create a new SSID.
- In the SSID section, click the Add button and enter the new SSID for your 2.4GHz wireless band.
- After that, select the security mode on your wireless network.
- We recommend that you choose WPA-PSK encryption and enter a password for your network. Click OK afterward.
Once all the aforementioned steps are completed successfully, you can enjoy the internet via the EAP225 outdoor device.
Update firmware on Tp Link EAP225 outdoor
- Launch the web browser and go to the Tp-Link EAP downloads website.
- Enter your EAP’s model number and download the suitable firmware version.
- After that, open a new tab and type the default web address tplinkeap.net.
- Thereafter, enter the username and password to login to the device.
- Click on the System page and then click on the Firmware Upgrade page.
- Click Browse and select the file that you just downloaded.
- Follow the on-screen instructions to finalize the firmware upgrade.
Bottom line
Setting up your new EAP225 outdoor device is easier and quicker if you follow the aforementioned instructions carefully. This post was all about the Tp-Link EAP225 outdoor login, setup, and firmware update. We hope that this post helped you learn all the instructions in the best way possible. If you need help resolving issues with the TP-Link access point issues, you can follow the troubleshooting steps here.
If you see any issues coming up on your device, feel free to get in touch with our support team for further assistance.