TP-Link is the best when it comes to providing a high-speed outdoor extended network. It comes with various features and technologies to provide you with a better wifi experience. You can perform the tp-link outdoor CPE setup in a few simple steps. If you want to configure your TP-Link Outdoor CPE on your iPhone, you can do it using the Tether app. This blog will walk you through the steps you can follow to configure your TP-Link outdoor CPE on your iPhone.
Making inter-device connections
If you want to configure your TP-link device using the iPhone, you’ll first need to create physical connections between the devices. See the steps mentioned below for the purpose:
- You have to connect your devices properly using the Ethernet cables. Insert one end of the cable into the LAN port on your router and the other end into the LAN port on the CPE device.
- Then, plug the power cable into the device and connect the power adapter to the power outlet.
- You can now turn on the power supply on your TP-Link device using the power button and allow some time for it to boot up. Wait till the LED turns solid.
- Your device is now ready for configuration.
TP-Link Outdoor CPE Configuration using iPhone
If it seems hard to do the setup and configuration of your device, you do not have to worry about that. You can easily do the tp-link outdoor CPE configuration using the tether app with your iPhone. Here are the simple steps to do that. Check them out.
- First of all, you have to download the Tether App on your iPhone from the Apple store and then install it.
- You can launch the Apple App Store and look for the Tp-Link Tether app. Once the app page loads, tap on the Get button.
- The app download will begin and the status of the same will be visible on the screen. Allow some time for the app to download and get installed on the iPhone.
- Once installed, launch the app and log in to it using the default username and password details obtained from the product label.
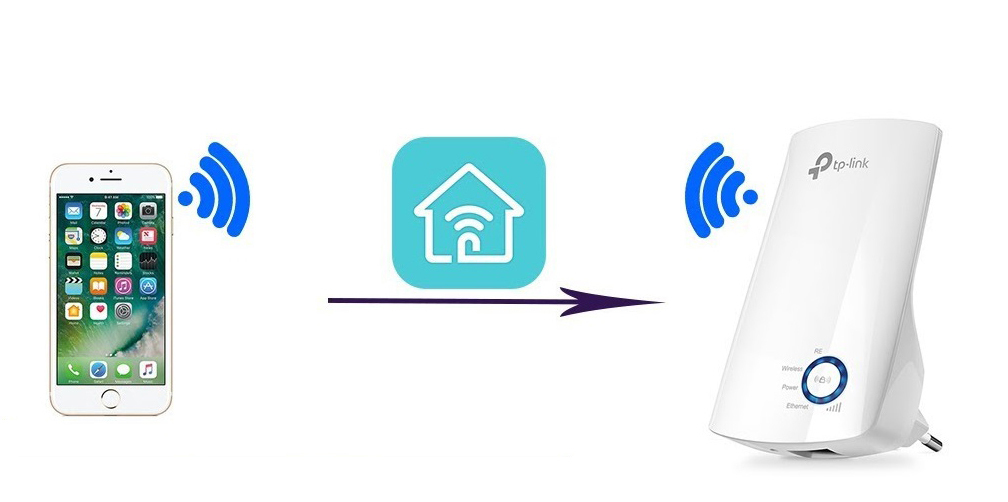
- Connect your iPhone to the network of your TP-Link device wirelessly using a WiFi connection. Open the WiFi settings and look for the TP-Link CPE network SSID. Once visible, select the same and tap on the Connect button.
- Now, on the app, you have to tap on the Add button and follow the in-app instructions to add the device.
- Choose the device category “As Range Extender.”
- Next, you have to choose the type of your extender from the list.
- You have to follow the instructions on the screen and you will be all done with the configuration process.
- Save the settings in order for them to take effect.
Conclusion
If you encounter any trouble while doing the tp-link outdoor CPE setup and configuration, you can resolve them easily with some simple troubleshooting steps.
- Check if the iPhone is connected to the CPE’s local network in the first place. If you are using a wired connection, check if the cable is in the best shape.
- Ensure that you are connected to the right wireless network. You can correspond to the correct WiFi details over the product label.
- Restart the TP-Link Tether app on your smartphone. You can also force stop the app and then reactivate the services to resume the setup process.
If the issues related to the CPE extender setup persist, you can reset your device to the factory default settings using the reset button. After resetting your TP-Link device, you have to configure it again. In case you are unable to resolve the issues, you can give us a call on our toll-free number. Our support team will help you out.