TP-Link CPE510 Setup
TP-Link’s CPE510 is equipped with dual polarized directional MU MIMO antennas. The TP Link CPE510 is specially designed for point-to-point and point-to-multipoint long distance transmission. With the PharOS MAXtream TDMA technology, the CPE510 is providing high throughput, improved latency, ideal for long range transmission. The TP-Link CPE510 setup is performed in different ways. You can set it up in different operational modes such as an access point, bridge, client, repeater, AP router, and AP client router. This guide explains how to create a network using TP-Link CPE510 and perform the TP-Link CPE510 repeater setup.
Hardware installation and connection steps
Site consideration and orientation
The first step is to unbox the product. The package contains the PharOS CPE, PoE adapter, mounting bracket, power cord, mounting straps, and the TP-Link cpe510 setup manual. To get started with the hardware installation, consider the line of site between the devices. It should be clear and straight for an optimal performance. Try to install the CPE510 in an elevated location to get a strong, reliable wireless signal. Also, install the TP-Link CPE devices with the front facing the signal receiving devices.
Establish the connections
- First of all, take an Ethernet cable and connect it from the LAN0 port on the CPE510 to the PoE passive port on the adapter.
- The second step is to connect the adapter’s PoE LAN port to your PC, router, or switch.
- Next, plug in the PoE adapter to the power source using the power cord.
- Then mount the tplink CPE510 device at the selected site to the direction you have oriented.
TP-Link cpe510 setup and configuration process
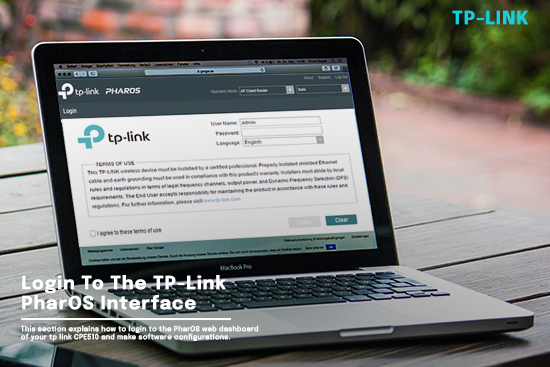
This section explains how to login to the PharOS web dashboard of your tp link CPE510 and make software configurations. In the same section, you will learn how to perform the TP-Link cpe510 repeater setup process.
Login to the TP-Link PharOS interface
- The first thing you have to do is to assign a static IP to your connected computer system.
- Now, open your default browser on the PC, and type the TP-Link IP address http://192.168.0.254 in the address field. Press Enter.
- When an admin screen appears, enter the username and password as admin in the given fields, agree to terms of use, and click Login.
- You would be asked to change the CPE510 admin password to keep your CPE device secure from any unauthorized user.
- Once done, you can start configuring your TP-Link CPE.
Set up the network and configure the TP-Link CPE510
After you login to the PharOS interface, launch the quick setup wizard and follow the onscreen instructions to quickly configure the TP-Link CPE device. After that, you would be asked to choose the suitable operation mode according to your network.
Setting up as an Access Point
- From the PharOS dashboard, click on the Quick Setup.
- Next, select the Access Point option.
- Then specify your TP Link CPE510 the LAN IP and the Subnet Mask under the LAN Settings.
- Now, go to the Wireless AP Settings and configure the Wireless settings, such as SSID name, security mode, security encryption key, etc.
- Then enter a passphrase key for the TP-Link CPE network.
- Finally, review the wireless settings and click on Apply to save them. Click Finish to complete the TP-Link cpe510 setup process.
Configuring the CPE device in Client mode
- Click on the Quick Setup on the PharOS web page.
- And, choose the operation mode as Client.
- Under the LAN IP settings, enter the LAN IP and the Subnet mask for the TP-Link CPE.
- Next, select the Wireless Client settings.
- Then click on Survey to scan for the upstream network.
- Select your TP-Link network name and click Connect.
- Now, configure the wireless and security settings for CPE510.
- Make sure to enter the same password for both the Security and PSK.
- Once done, click on Save and then click the Finish tab.
Setting up the TP-Link CPE510 as a Repeater
- Again click on the Quick Setup and select Repeater as the operation mode this time.
- Then specify the Subnet mask and the LAN IP address for the TP-Link device. Click Next.
- Now, click on the Wireless Client settings and click on Survey.
- The CPE device will search for the upstream network, select your desired network, and connect to it.
- Next, enter the wireless parameters under the Wireless Client settings.
- Make sure to choose WPA-PSK/WPA2-PSK as your Security. The Security and PSK passwords should be the same.
- Finally, review all the configurations and click on Finish to complete the TP-Link cpe510 repeater setup process.
Choosing the CPE510 Operation mode as Bridge
- Firstly, select Bridge as the operation mode under the Quick Setup page.
- Then configure the LAN IP and Subnet mask for your CPE510 in the LAN settings.
- Next, click on Survey again under the Wireless Client settings to scan for the upstream network.
- After you select your desired network name, click on the Connect tab.
- And, configure the wireless settings such as security mode and enter the passphrase key.
- Afterward, enter the parameters under the AP Settings section to create a new network for downstream clients.
- Now, save all the configurations by clicking on the Save button. Click Finish.

Setting up as an AP Router
- Click on the Operation mode on the Quick Setup page and select AP Router.
- Choose your connection type under the WAN Connection section.
- If you don’t know about the connection type, confirm it with your ISP.
- Now, click on the Wireless AP Settings and configure the basic wireless parameters.
- Create a new network, choose the security key such as WPA-PSK/WPA2-PSk and enter the passphrase key.
- Finally, review all the configurations and save them.
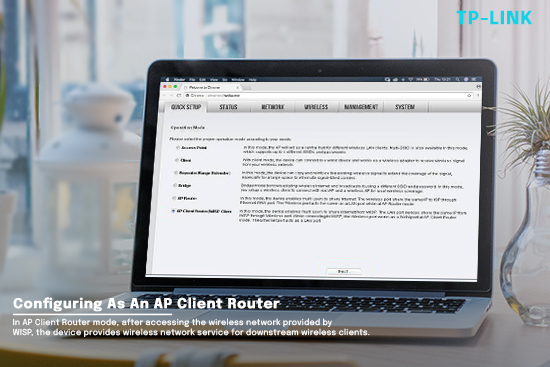
Configuring as an AP Client Router
- First of all, select AP client router as the operation mode.
- Under the WAN Connection, select your connection type such as PPPoE, dynamic IP, or static IP.
- Then click the Survey option to scan for the upstream network under the Wireless Client settings.
- Now, choose your network name and click Connect.
- Next, set up your wireless settings in the same section.
- Afterward, go to the Wireless AP section and create a new network for the downstream clients.
- After reviewing the configurations, click on the Apply and then Finish tab.
How to update the firmware for TP-Link CPE510?
When you update the firmware of your Tp-link CPE device, it will fix the previous bugs and improve its performance. Follow the steps below to do so:
- First of all, visit the Support Site of TP-Link.
- Now, enter the CPE model number in the search field to look for its advanced firmware version.
- Then you need to download the latest version of TP-Link CPE firmware and save it on your PC.
- Now, open a browser and type the default IP of the tplink CPE 192.168.0.254 in its address field.
- Then enter the admin name and password on the TP-Link CPE login page.
- From the PharOS dashboard, click on the Status and check the Device information.
- Look for the Firmware version to check whether the firmware is updated or outdated.
- Now, navigate to the System settings and locate the Firmware Update section.
- Then click on Browse to find or upload the downloaded firmware file.
- Afterward, Click on Upload to start the TP-Link CPE firmware update process.
- Next, the CPE510 device will reboot automatically. Click on Finish to complete the firmware update process.
If you face any issues while updating the firmware for your tplink device, contact our technical team. To know more about the tp link cpe510 repeater setup, dial our toll-free number.
How to reset the TP-Link CPE510 device?
If you are facing problems with the CPE510 and unable to resolve them with simple tips, you can perform a factory reset. You also need to reset your TP-Link CPE device if you forget the admin as well as Wi-Fi password of the device. Here are some easy tips to perform the TP-Link CPE reset process.

- The first step is to plug the CPE device into the power socket and turn it on.
- Now, look for the reset button on the TP-Link cpe device.
- It should be located into a tiny pinhole on the back or bottom panel of the device.
- Next, take a paperclip or a sharp pin and press the reset button with it.
- Hold the button until the System LED on the CPE device flashes green.
- Once done, release the button after a few seconds.
- With the factory reset, all the configurations go back to the default settings.
- And, you have to perform the TP-Link cpe510 setup process again.
Conclusion
In this post, you have learnt how to set up and configure the TP-Link CPE510 device. Also, you got to know how to set up your tplink CPE in different operation modes. If you have more queries related to the same, you can ask our technical team. Dial our toll-free number or use an online chat window to contact our technical experts.