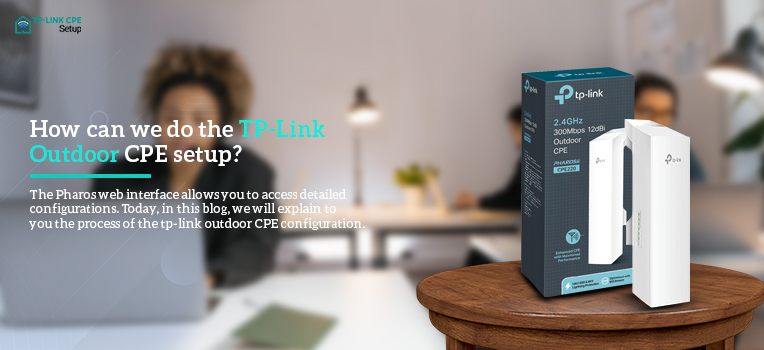
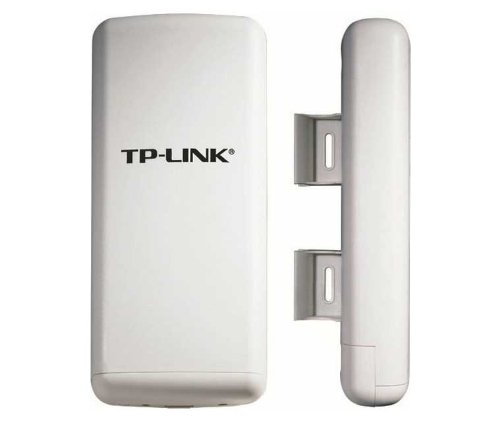
Looking for a dedicated outdoor wireless network solution, then the TP-Link outdoor CPE device is an ideal choice for you. The product has excellent beam directivity, noise cancellation, and improved latency. The process of the TP-Link outdoor CPE setup is simply a breeze. This device comes with a user-friendly PharOS centralized management software that helps manage your devices from a single PC. The Pharos web interface allows you to access detailed configurations. Today, in this blog, we will explain to you the process of the tp-link outdoor CPE configuration.
TP-Link outdoor CPE setup and configuration
1: Connecting CPE to the power source
- The first step is to connect the outdoor CPE to the power adapter that came with the device.
- Use an adequate Ethernet cable and connect it from the PoE adapter to the Ethernet port on the CPE.
- Then connect the power adapter to an available electrical outlet with the help of the power cable.
- Now, use another Ethernet cable and connect it from the LAN port on the power adapter to the computer system or router.
- Once connected, mount both the CPE device and the power adapter.
2: Logging into the TP-link CPE device
- The next step is to log in to the Pharos web interface and make the software configurations.
- Before you log in, assign a static IP address to the PC that is connected to the CPE device.
- For that, open up a browser and type http://192.168.0.254 in the browser’s address field.
- Next, type in the admin username and password in their respective fields to access the tp-link outdoor CPE configuration page.
- You would be prompted to change the default username and password.
- Click on the Change Password to change the default admin details or you can do it later.
3: Setting up the Wi-Fi network
You can accomplish the tp-link outdoor cpe setup process using the quick setup wizard. Just select the operation mode according to the network environment and follow the steps provided below:
Set up the device as Repeater mode
- From the TP-link configuration page, click on the Quick Setup.
- Under the Operation Mode, select Repeater and click on Next.
- Now, go to the LAN Settings and then specify the IP address and Subnet mask for the TP-Link CPE.
- Next, click on Survey under the Wireless Client Settings section to search for the upstream Wi-Fi network.
- Afterward, choose the desired wireless network and click on the Connect button.
- Finally, review the configurations and click on the Finish to complete the tp-link outdoor cpe configuration process.
Conclusion
In this blog, you have learned how to set up and configure the TP-Link outdoor CPE device. Follow the steps provided in this post to configure your device in repeater mode. You can also set up your CPE device in different modes including bridge, client, access point, or AP router mode. If you need any assistance with the same, you can get in touch with our technical team on the helpline number.

